How to Organize Your Pantry Like a Professional
THIS POST MAY CONTAIN AFFILIATE LINKS. PLEASE SEE OUR FULL DISCLOSURE POLICY FOR DETAILS.
Organizing your pantry doesn’t have to be a difficult task. Here is how to organize your pantry like a professional without spending days cleaning.
Do you feel like your pantry is out of control? You have boxes bursting from every corner, bins overflowing, and not even a little bit of order. If this describes your kitchen pantry, then it may be time to reorganize!
Pantries are a very common area for professional organizers to take on. Organizing your pantry doesn’t have to be a difficult task, and you can have a pantry that looks like it was done by a professional without spending days cleaning out your pantry. Here is how to organize your pantry like a pro.
Wondering where to begin? Get our FREE guide, The 30-Minute Organizing Secret, and discover easy ways to overcome the chaos of clutter – even with kids at home!
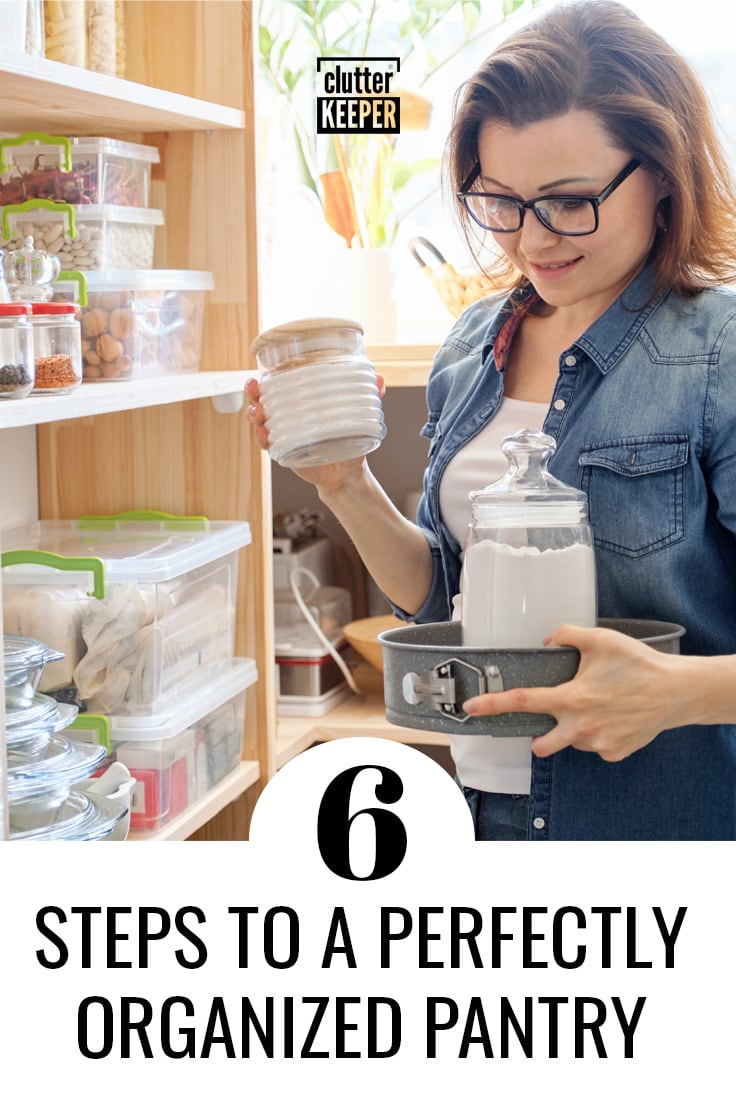
How to Organize Your Pantry Like A Professional
These tips are essential for an organized pantry. If you follow all of them, you’ll be able to step back and look at a clean and organized pantry that looks like a professional did it.
To get started, grab the Essential Home Organization Toolkit. It has printable labels, planners, checklists, and everything you need to organize your pantry (and entire home!).
Step 1: Take everything out of your pantry
This is going to be the most time-consuming task out of the whole project, but trust me, you’ll be glad you did.
Start by taking everything out of your pantry, including all of the bins and any storage solutions you currently have in there. Once everything is out, give your pantry shelves a good wipe down and put down some contact paper or shelf liners. This will help keep any messes contained, and allow you to start fresh!
If you really want to create a “wow” factor, repaint the walls. It will really change how it looks and make the transformation dramatic.
Step 2: Get rid of anything that you won’t eat or has gone bad
The pantry can sometimes turn into a catchall space for anything that is considered consumable. You may notice that you have more paper plates than you realized, pasta sauce that is looking questionable, as well as many other different food dilemmas.
First, get rid of anything that has gone bad. Take a good look at expiration dates, and make a note of any that will be going bad in the near future.
Next, get rid of anything that your family isn’t going to eat. It doesn’t matter if it’s bad or not, if your family won’t eat it, then it’s as good as trash.
Once you’ve gotten rid of these items, you’ll be surprised at how much space you actually have to work with.
Then, set yourself up for success next time by keeping an inventory of your pantry. It’s easy to do with the Clutter Keeper Meal Planner. This printable bundle includes a sheet where you can write down what’s in your fridge, freezer, and pantry, along with when it expires!
Step 3: It’s time to ditch the packaging
Here’s a favorite tip of professional organizers…instead of having boxes on boxes of food items in your pantry, look for ways to ditch your packaging whenever possible.
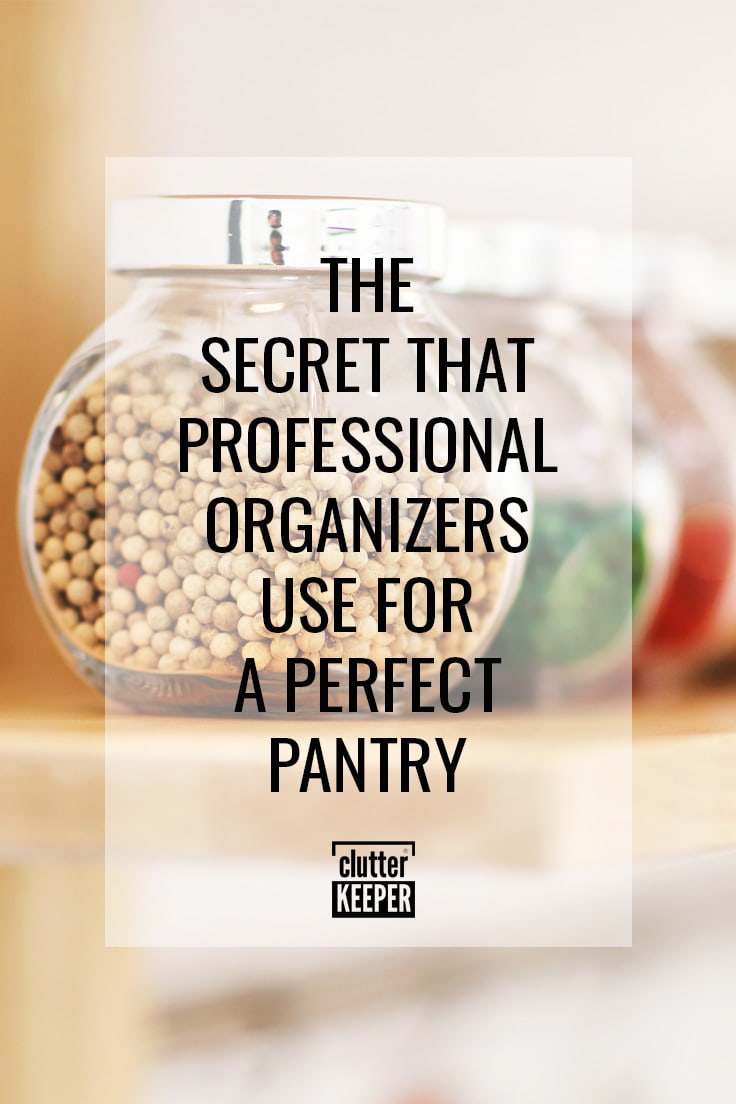
Remove pasta from their boxes and put them into glass jars or other containers you like. Make sure they are airtight as they are storing food after all. For individually packaged food items, store them in bins or containers. This may require a bit of an investment up front, but the end result is beautiful!
Putting everything into jars and containers will create a more uniform look, and it will allow you to fill every nook and cranny of your space. The ability to use every bit of space is going to make your pantry feel so much bigger.
Step 4: Label everything
After you’ve put your items into bins or containers, label them! It’s important to do this step now, or you may forget which one is the flour and which is the baking soda. We have some pantry labels that will save you time. Get them, print them, and watch how much they help.
Check out this professional organizer’s favorite way to label everything that she organizes.
Step 5: Use large bins to corral items
Use large bins to hold paper products, entertaining supplies, baking utensils, and other items that fall into the pantry because they have no better place to be. This will help your pantry look organized, even when you have odd items that don’t fit well into containers.
Another benefit of putting paper products in plastic bins is that they become stackable. You can store more in your pantry when things aren’t falling on top of each other.
Step 6: Don’t be afraid to get a little fancy
Add some wallpaper or even a decal to your pantry. This can change a boring pantry into a lovely room in your home! Invest in some nicer jars and try to keep your colors and styles uniform to make it look better.
Your pantry might store a lot of potentially messy items, but that doesn’t mean that you have to leave it looking messy! Use these tips to help you organize your pantry like a pro!
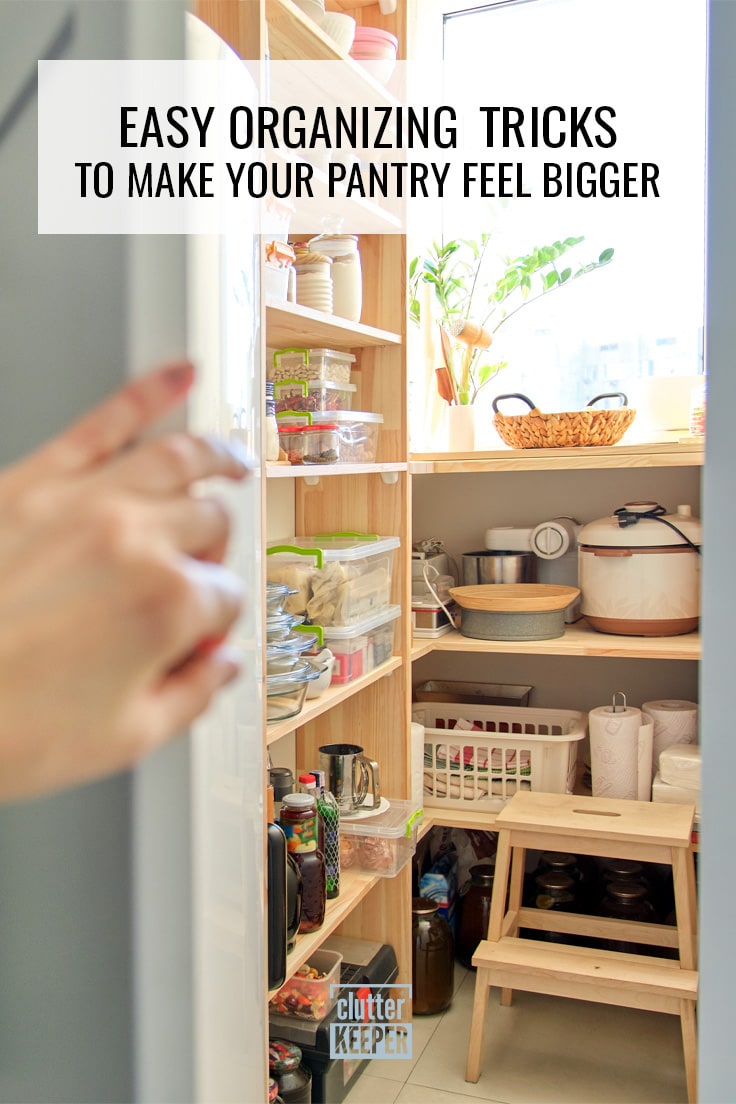
Now that you know how to organize your pantry like a professional, let’s look at some more tricks and hacks that will help you keep it organized. Follow these easy pantry organization tricks, to make your pantry feel twice as big in no time.
We have all fallen victim to the tiny pantry dilemma. Whether it’s because you have too much food and not enough space, or because you should have organized it years ago but never got around to it, our pantries can feel tiny sometimes.
Easy Organization Tricks to Make Your Pantry Feel Bigger
Never lose food or spices behind boxes of pasta again with these 3 organization tricks to make your pantry feel twice as big.
1. Use plastic containers to stack your items
If you really want to take advantage of every last square inch of space in your pantry, consider moving items from their packaging and put them in flat, clear, plastic containers. Add a few labels so you can tell what’s inside at a quick glance, and stack them on top of each other. Grains, nuts, pasta, and other smaller items will take up less space, and it will look more organized.
2. Keep all your packets and small items organized
Spice packets, drink mixes, and other small items can get lost extremely easy! Instead of trying to store these items on the pantry shelves, it might be worthwhile to look for other options. For example, using an over the door organizer can be great for small items that need to be accessed quickly, versus a bin on the shelf. This will also free up space for bulkier items that require shelf storage.
If you want an example, Make Bake Celebrate used velcro to attach plastic containers just inside the pantry door. These containers hold all the loose packets.
Another idea is to store the packets inside a 3×5 index card file box. It’s the perfect size.
3. Use crates and baskets on the floor
Most pantries have a gap between the floor and the first shelf. Use this space to your advantage! You may not want to store your everyday essentials here, but you could easily put crates or baskets for additional storage space! If you don’t have enough height for a crate, consider storing your soda containers and other small items here that aren’t very tall.
Just because you don’t have a large pantry doesn’t mean it can’t feel big! If you follow these tricks, you’ll be well on your way to a bigger pantry in no time.

Struggling to get motivated? Sign up to get our FREE guide, The 30-Minute Organizing Secret, and discover easy ways to overcome the chaos of clutter – even with kids at home!
Frequently Asked Questions
You can safely eat a potato as long as it is still firm, even if it has a few sprouts. Just cut those off. Potatoes will usually last about 3-5 weeks in the pantry before they start to sprout, although some may sprout sooner.
The best way to store rice is in a glass or plastic jar with a lid. This prevents spills and keeps the rice protected too.
The best way to keep brown sugar soft is to take it out of it’s plastic bag and store it in an airtight container with a lid. That way, the air can’t get in and dry it out. Other people find success placing marshmallows on top of the brown sugar.
More Kitchen Organization Tips
Now that you discovered some pantry storage tips, here are some more articles to help you organize your kitchen.
- Complete Kitchen Organization Guide – This is everything you need to know to organize your entire kitchen.
- Refrigerator Organization – Follow these simple steps and you’ll have an organized fridge that doesn’t lose items.
- How to Get Rid of Your Junk Drawer – Finally be free of the chaos of your junk drawer.