
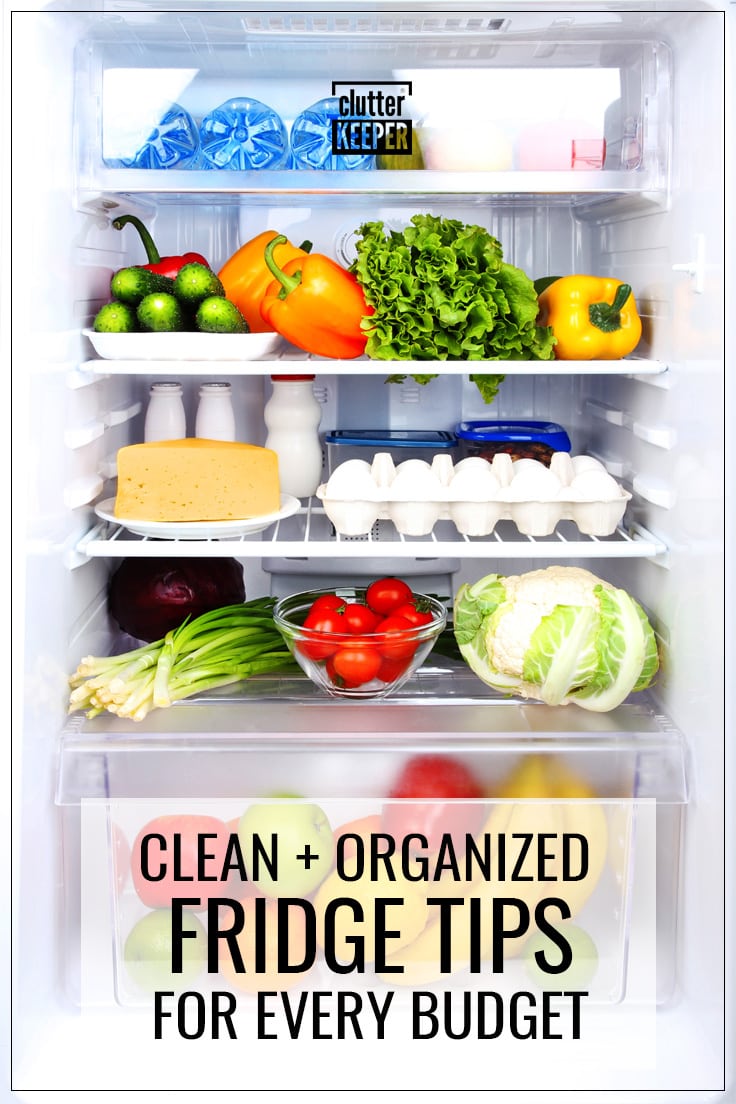
Simple Steps to a Clean and Organized Fridge
THIS POST MAY CONTAIN AFFILIATE LINKS. PLEASE SEE OUR FULL DISCLOSURE POLICY FOR DETAILS.
Organizing a refrigerator doesn’t have to be a difficult process. These 5 steps to an organized fridge will help you create more order in your kitchen!
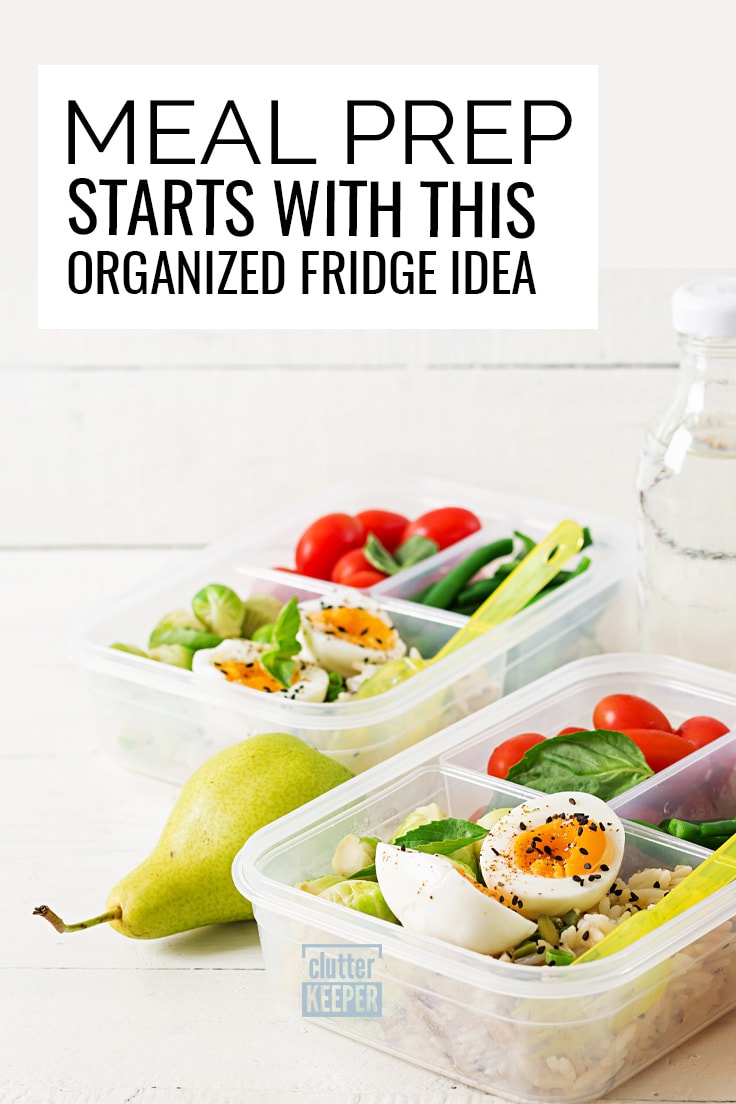
Keeping your refrigerator clean is super important for your health. It’s also going to cut down on food prep time if you have an organized fridge too.
Let’s look at 5 simple steps for an organized fridge. If your refrigerator actually needs deep cleaned instead, you can skip down to the bottom of the post for those tips too.
Disclosure: If you make a purchase through links in this post, we may receive a commission.
5 Steps for An Organized Fridge
First, let’s look at how to organize your fridge. It’s actually pretty simple. You can have an organized fridge in 5 simple steps.
Step 1: Take everything out
The best way to start on an organized fridge is by doing a fridge clean out. Take everything out of your fridge before you start organizing. Take this time to also go through and get rid of any expired or bad food products while you’re at it!
The goal is to start with a blank slate, so make sure you take EVERYTHING out.
While everything is out, wipe it all down. Don’t put anything back if it is sticky or dirty.
Step 2: Put in your bins and shelf liners first
After you’ve taken everything out, take this time to add some shelf liners to your fridge. This will keep your bins from sliding around, and also make sure that you keep your fridge from getting future spills.
After your liners are down, start mapping out where you want your bins to go. Allow your fridge to help dictate where your bins should go, and what items should be placed in them.

Step 3: Categorize your items
Take the time to categorize your current items. This will help let you know if you have any duplicates, too much of something, or if you’ve run out of something as well.
If you usually have eggs and you’re out of them currently, make a note to leave space in your fridge so you won’t need to reorganize later. Using the categories you’ve created, see which items fit in each of the bins you’ve mapped out.
Step 4: Store your items
As you begin to refill your fridge, ask yourself if the spot you’ve chosen works well for your food items. Condiments store well in the door since these are not always cold.
Do you have a place for leftovers and new food that may come into your fridge in the future? Ask yourself these storage questions as you begin to put your items back, and check out our Complete Food Storage Guide for these best ways to store your food .

Step 5: Be flexible
Once you begin to put items back, you may start to notice that your items don’t fit like you hoped they would, or you don’t have enough bins. Be flexible and know that you may need to tweak these solutions as you start to fill each bin.
Don’t be afraid to move things around to find what works best for the items in your home. If you have an organization system in your fridge that you’re testing out, give it a trial run. If it doesn’t work, replace it instead of forcing it to work within your fridge. As your diet and family size changes, you may need new organization systems in the future as well.
These 5 steps will give you a very organized fridge.
Is your refrigerator in need of a deep cleaning instead? Then these steps are exactly what you need.
How to Deep Clean Your Fridge
When was the last time you really gave your refrigerator a good deep clean? Here is an in-depth guide to help you deep clean your fridge.
Wiping down the fridge when there’s a spill or every now and then maybe a part of your weekly cleaning routine. When was the last time you really gave your refrigerator a good deep clean? If you can’t remember, then it may be time to do it again.
Ideally, you want to do a deep clean of your fridge at least twice a year, but you may need to do it more depending on how dirty your fridge gets. These step-by-step instructions will help you deep clean your fridge.
Step 1: Remove everything from the fridge
If you find yourself about to make a big trip to the grocery store or find yourself saying “there’s nothing to eat,” it’s a good time to do a deep clean of the fridge. When there is less food in your fridge there will be less to take out and make cleaning up the fridge easier. Place all of your fridge items in a cooler while you are cleaning to ensure that nothing goes bad.
Step 2: Wipe the interior of the fridge
Take out all of the shelving and bins within your fridge, and clean those in the sink. While your bins and shelves are drying, take this time to wipe down the interior of your fridge.
When cleaning your fridge, use unscented cleaners if you can as food will absorb odors. Make sure you have dried your surfaces and removable sections before you return food items to your fridge.
Step 3: Clean the outside of the fridge
While your fridge is still empty, consider cleaning the outside of the fridge. If you want to, you can also do this step after you’ve returned the food in the fridge. Make sure you are using the appropriate cleaner for your appliance type to make sure you don’t leave streaks behind.
Step 4: Remove any food that has expired or gone bad
We all know when food has gone bad, and if you can’t tell it’s gone bad, check the expiration date. Many times we leave sauces and condiments in the fridge for months after they should have been thrown out.
Then, set yourself up for success next time by keeping an inventory of your fridge. It’s easy to do with the Clutter Keeper Meal Planner. This printable bundle includes a sheet where you can write down what’s in your fridge, freezer, and pantry, along with when it expires!
Step 5: Wipe everything down
If you have containers, bins, or anything else that you store on the shelves, go ahead and wipe these down. Take the time to also wipe down condiment containers, and anything else that may be a little sticky or dirty.
Step 6: Putting everything away
Now that you have removed all of the dirt and grime from your fridge, it’s time to put everything back in. While your fridge is empty, it may be a good idea to consider reorganizing your space. Take this time to put organization bins to group small items together, and even dedicate an area for your drinks, leftovers, and anything else you want to organize.
Cleaning out the fridge doesn’t have to be a gross or sticky job. If you clean it regularly and deep clean it a few times a year, your fridge will always be in good shape.
There you have it! Now you have both a clean and organized refrigerator. It is going to be so amazing, you’ll want to take pictures! If you do, tag #ClutterKeeper so we can see it!
Struggling to get motivated? Sign up to get our FREE guide, The 30-Minute Organizing Secret, and discover easy ways to overcome the chaos of clutter – even with kids at home!
More Kitchen Organization Tips
Ready to keep organizing your kitchen? Here are some more tips for an organized kitchen.
- Kitchen Organization Ideas – this page has everything you’ll need to know about organizing your kitchen.
- Organize Your Kitchen Pantry In 6 Simple Steps – ready to tackle another big part of your kitchen? Get your pantry organized with these tips.
- 13 Family Command Center Ideas to Keep Everyone Organized – Use one of these clever ideas to easily track everything you need to run your home smoothly.