How to Organize Baking Supplies in Your Kitchen
THIS POST MAY CONTAIN AFFILIATE LINKS. PLEASE SEE OUR FULL DISCLOSURE POLICY FOR DETAILS.
Organize your baking supplies so your tools and ingredients are all within arm’s reach. Baking and clean-up are so much easier when everything is close!
Hey it’s Jess from Jessica Welling Interiors! It’s January, and I’m on my annual post-holidays organizing rampage! So today let’s tackle the kitchen! Well, not the whole kitchen. Let’s just organize baking supplies.
While you’re organizing things, check out our mealtime app! It will help you organize your dinners and recipes effortlessly!
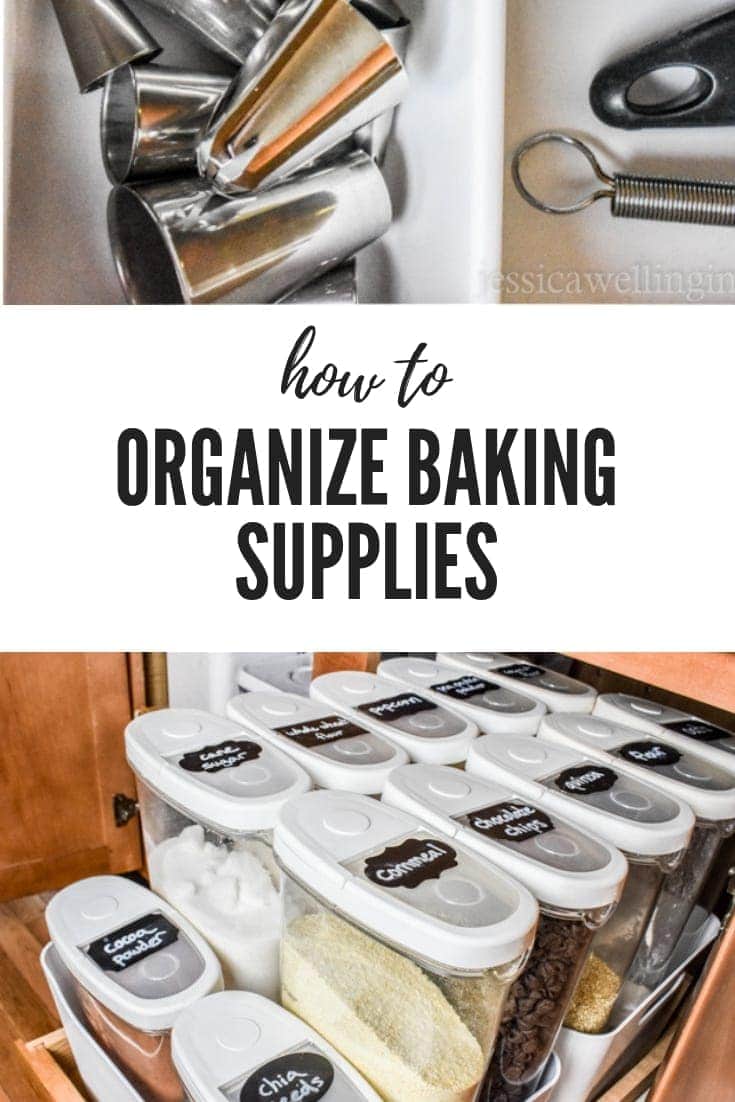
The kitchen is an incredibly hard-working room. And because of this, I think it’s important to put a lot of thought into organizing it. Making sure the tools you use often are close to where you’ll actually use them, etc.
How to organize baking supplies.
I love to bake… or at least I did until my family went gluten, dairy, and egg-free. Yikes! But I’m still experimenting and trying to figure out how to make it work. So now that I have a good-sized kitchen, I’ve set up a baking center, and it is so helpful! Today I’m going to show you how to organize baking supplies including photos of what I’ve done. Hopefully, you can take some of these ideas and adapt them to your own space and baking needs.
Are you feeling overwhelmed? Don’t be! Start with the 5-Day Kickstart. You’ll reset your brain in just 5 days, setting you up for long-term organizing success!
What you need:
- Containers for pourable bulk baking ingredients, such as chocolate chips, chia seeds, oats, cornmeal, etc. I use these IKEA 365 Dry Food Jars for most of my bulk ingredients. I like them because I can see and access everything at once. These are not ideal for every ingredient though, which is why I also use these:
- OXO Good Grips POP Containers
- IKEA VARIERA storage boxes in large and small
- Labels. These are my favorite chalkboard sticker labels that I use for pretty much everything in my house.
- White paint pen for labeling
- Drawer dividers (or make your own drawer organizers)
Instructions:
1. Pull everything baking-related out of your cupboards.
Yes, this is going to get messy, but it will be worth it in the end, I promise! And when I say “everything”, I mean EVERYTHING!
2. Go through and get rid of what you’re not using.
My seven-year-old daughter and I have been binge-watching the new Marie Kondo show on Netflix! I’m not an expert on the KonMari method just yet, but I can tell you that you should really go through all this stuff and get rid of whatever you don’t love and use. It will make it so much easier to see, access and put away the things you do use! My friend Marissa at Squirrels of a Feather goes into more detail on a full kitchen KonMari in this post.
The unopened bag of matcha powder that’s been sitting at the back of the cupboard for 2 years? Trash! Nasty squeeze tube of green food color that’s leaking everywhere? Trash! Green food color-covered jar with only 15 sprinkles left? Trash! Green bag of toffee chips that are all one big lump now? Trash! Old baking dishes from hubby’s college days? Donate!
When you organize baking supplies, you’ll be surprised at how much extra stuff you have that you don’t need. I got rid of one whole box and a trash bag during this project. I bet you can too!
3. Designate a storage space.
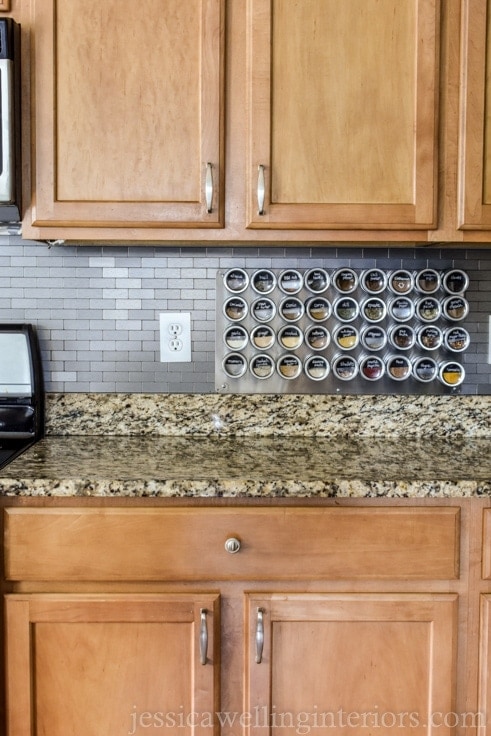
I’m lucky to have a kitchen big enough to designate a whole lower cabinet, drawer, and upper cabinet to organize baking supplies and ingredients. I know every kitchen has it’s space challenges, but if at all possible, try to choose a space that’s close to where you’re going to actually use this stuff. You can check out my giant DIY spice rack tutorial.
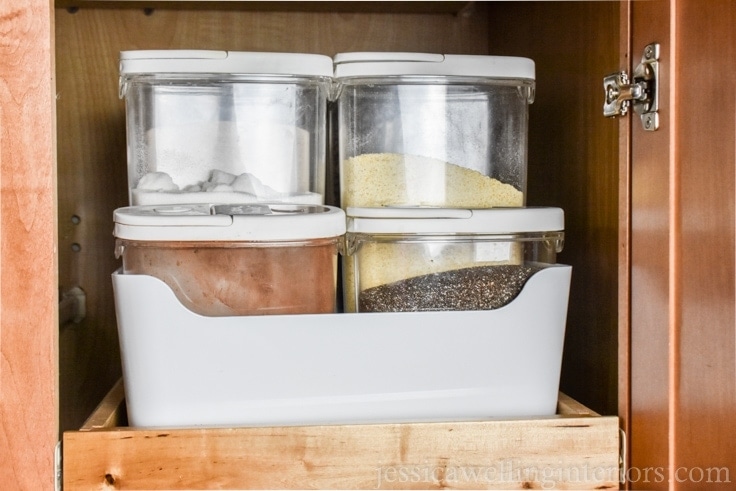
4. Plan storage for bulk ingredients.
Most lower cabinets have lots of space, but are a total pain to use. Junk ends up crammed in, it’s dark and hard to reach, and you may never find it again. My dream kitchen has glorious big drawers to organize baking supplies and other cooking essentials instead of cabinets, but until I convince Hubby to remodel the kitchen, I’m determined to make the best of the space I’ve got.
Our kitchen did come with these great slide-outs in the base cabinets. The problem? They were installed too high for my tall containers to fit. So Peter moved them down a few inches for me about a year ago. And now it’s amazing!
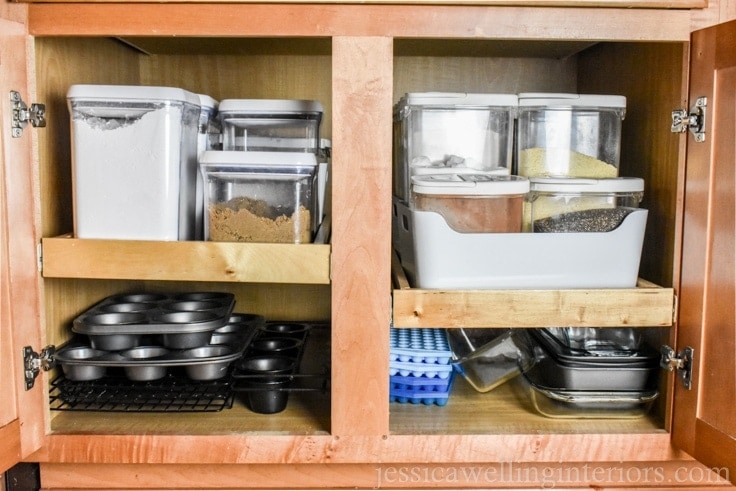
When you organize baking supplies, I strongly urge you to consider slide-outs if you don’t have them already! You would ideally have 2 slide-outs on each side- one above and one below, but one on each side will work. Check out these slide-outs.
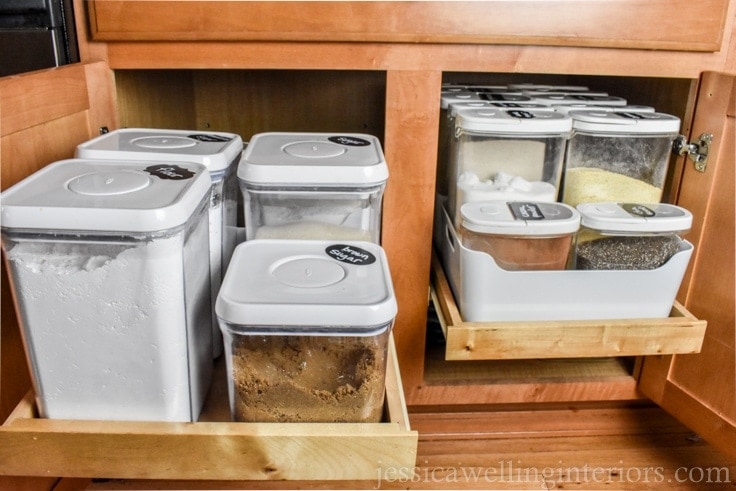
Now look what we can do:
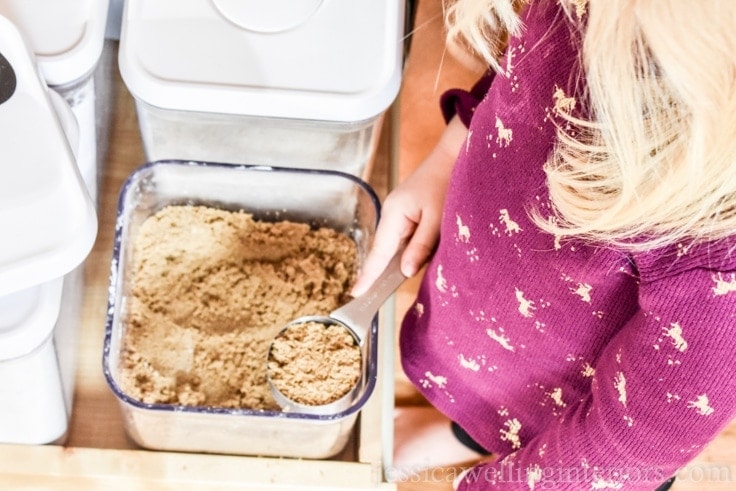
That’s right! We can pull the slider, scoop the brown sugar and dump it right into the bowl sitting on the counter above this! If you have toddlers you’re going to want to put a child lock on this cabinet.
I also discovered that 6 of these Ikea 365 Dry Food Jars fit perfectly into one of the large VARIERA boxes, also from Ikea. It’s important to keep them all upright and in place when the slide-outs are moving back and forth.
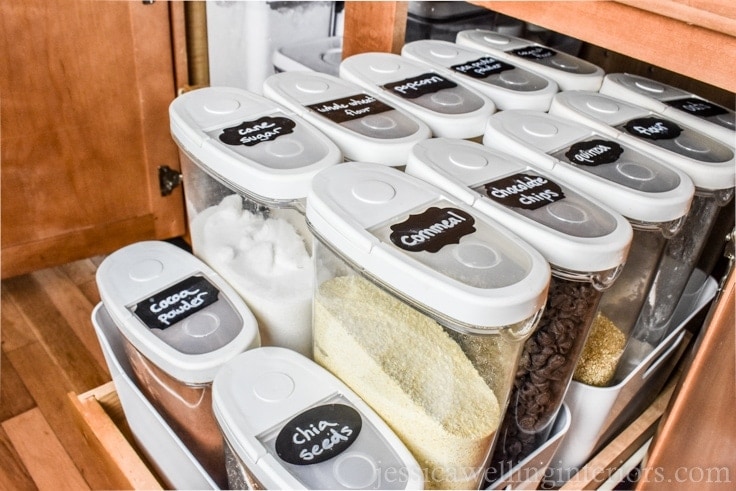
5. Plan storage for measuring cups & tools.
I’ve got this great big wide drawer directly above the cabinet with all the bulk ingredients. This is where I store my measuring cups, measuring spoons, spatulas, icing bags, icing tips, pot holders, rolling pin, toothpicks, birthday candles, and more. This keeps them in very easy reach. These items could easily be divided into two drawers, or even consolidated in a smaller one.
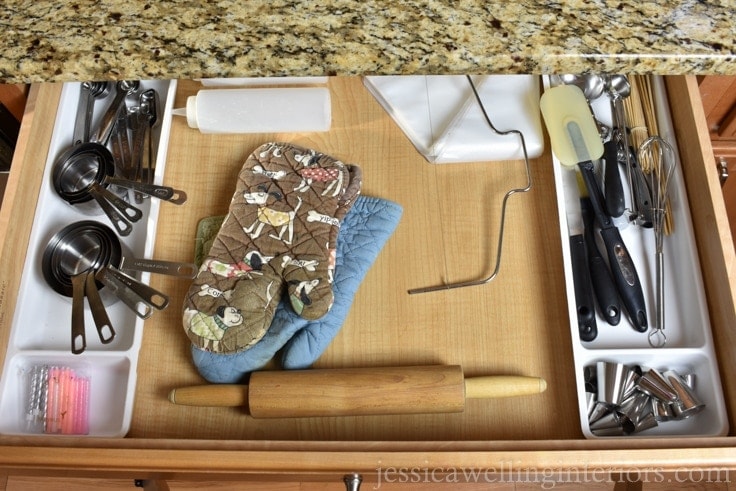
6. Plan storage for smaller items.
The cabinet directly above this is where I store all my other baking ingredients.
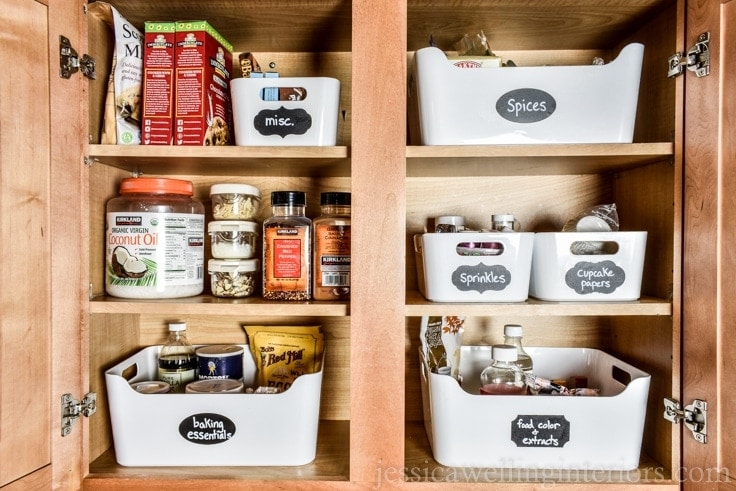
I love to use these white IKEA Variera bins to organize baking supplies! They fit perfectly in the cabinet, and I can pull them out when I need them. The slob in me loves how simple it is to put things away!
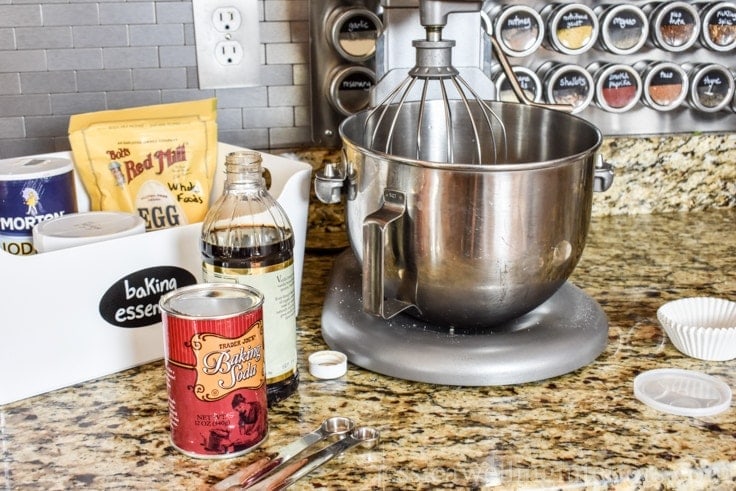
Okay there you have it. I hope this helps you organize your baking supplies. You’ll be glad you did!
What’s Next?
Easy DIY Giant Magnetic Spice Rack
A Messy Girl’s Guide to an Organized Pantry
Create a School Lunch-Packing Station
You may also enjoy these organizing ideas on Kenarry:

This looks really great! I need to get some matching containers. Do you worry about expiration dates without the original packaging? Or do you think you go through ingredients fast enough that it isn’t an issue?
Thanks Keri! Nope I’ve never even thought about the expiration dates on dry goods… but I do go through most of it.
I use a dry erasable marker and add the expiration dates on the bottom of containers where I think I need them. Some I go through so quickly that I don’t feel the need to add the expiration dates.
This looks really great! Having those clear containers makes it easy to find what you’re looking for and it has such an appealing appearance, too. Good job!